
Lieferzeit in ganz Litauen: 5-10 Werktage
Lieferpreis an die angegebene Adresse: 3 Euro


Trumpai apie prekę
Prekė: Vandens filtras po kriaukle 3/8"–1/2" su BRUSHED FAUCET virtuvei geriamam vandeniui. Kategorija: Vandens filtrai maišytuvams ir po kriaukle.
- Gamintojas: Aquafilter
- Modelis: FP3-K1
3-Stage Sink Drinking Water Filter with Satin/Brushed Faucet
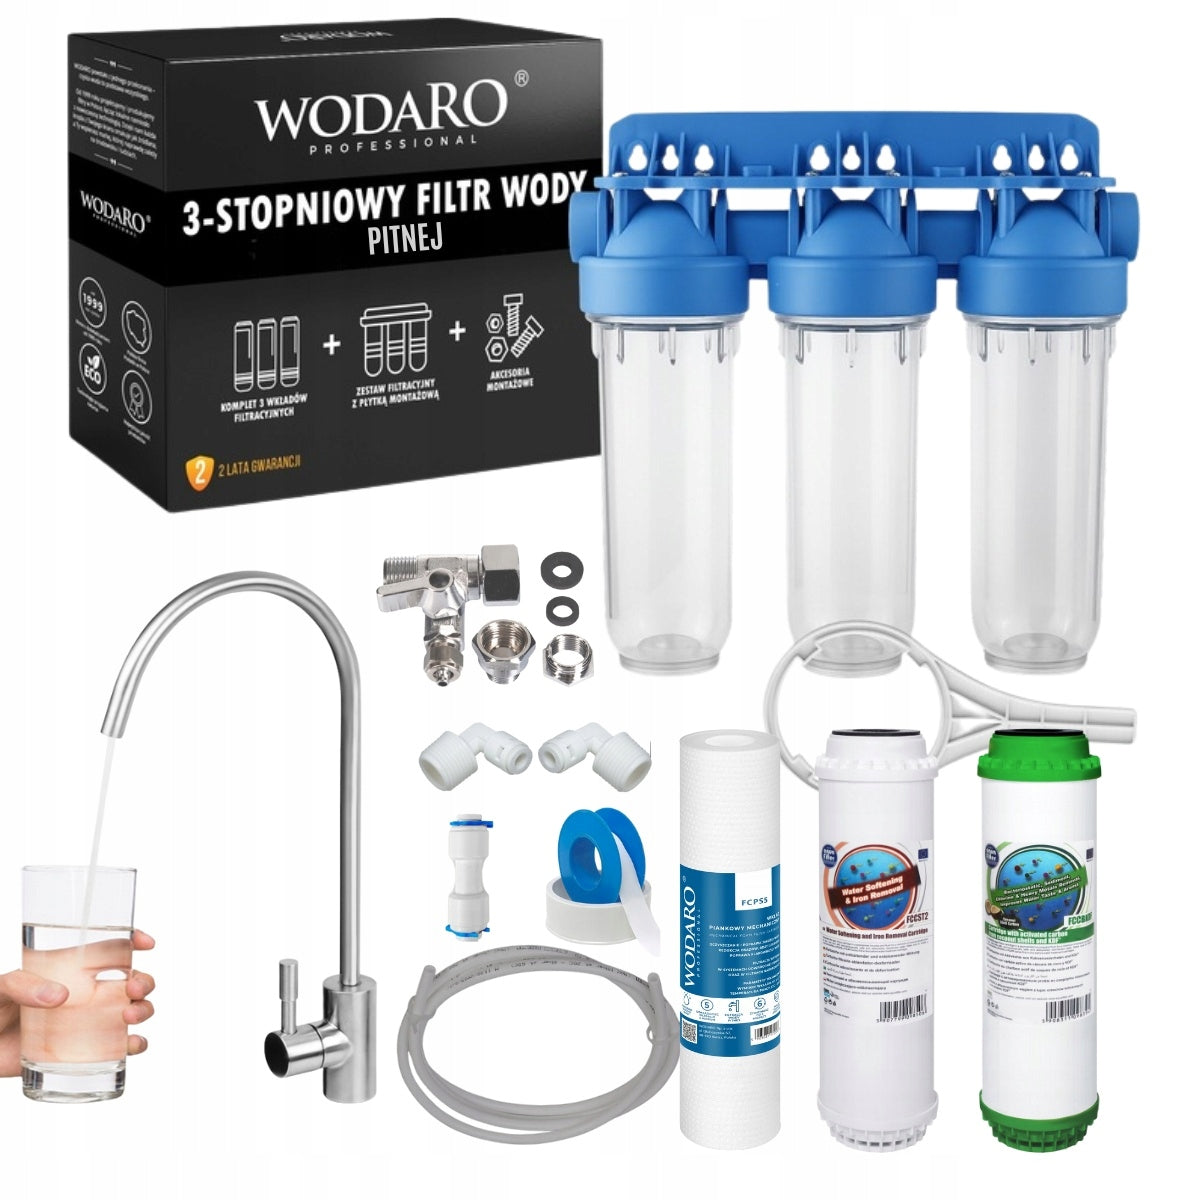
✅ Innovative filter kit is a complete kitchen filter under the sink with a separate tap for drinking water. Three stages of filtration, a solid in-line housing, cartridges selected specifically for drinking water and an intelligent connection under the sink make it possible to get your own source of clean, tasty water straight from the kitchen countertop in a few moments.
➡ Contents of the set
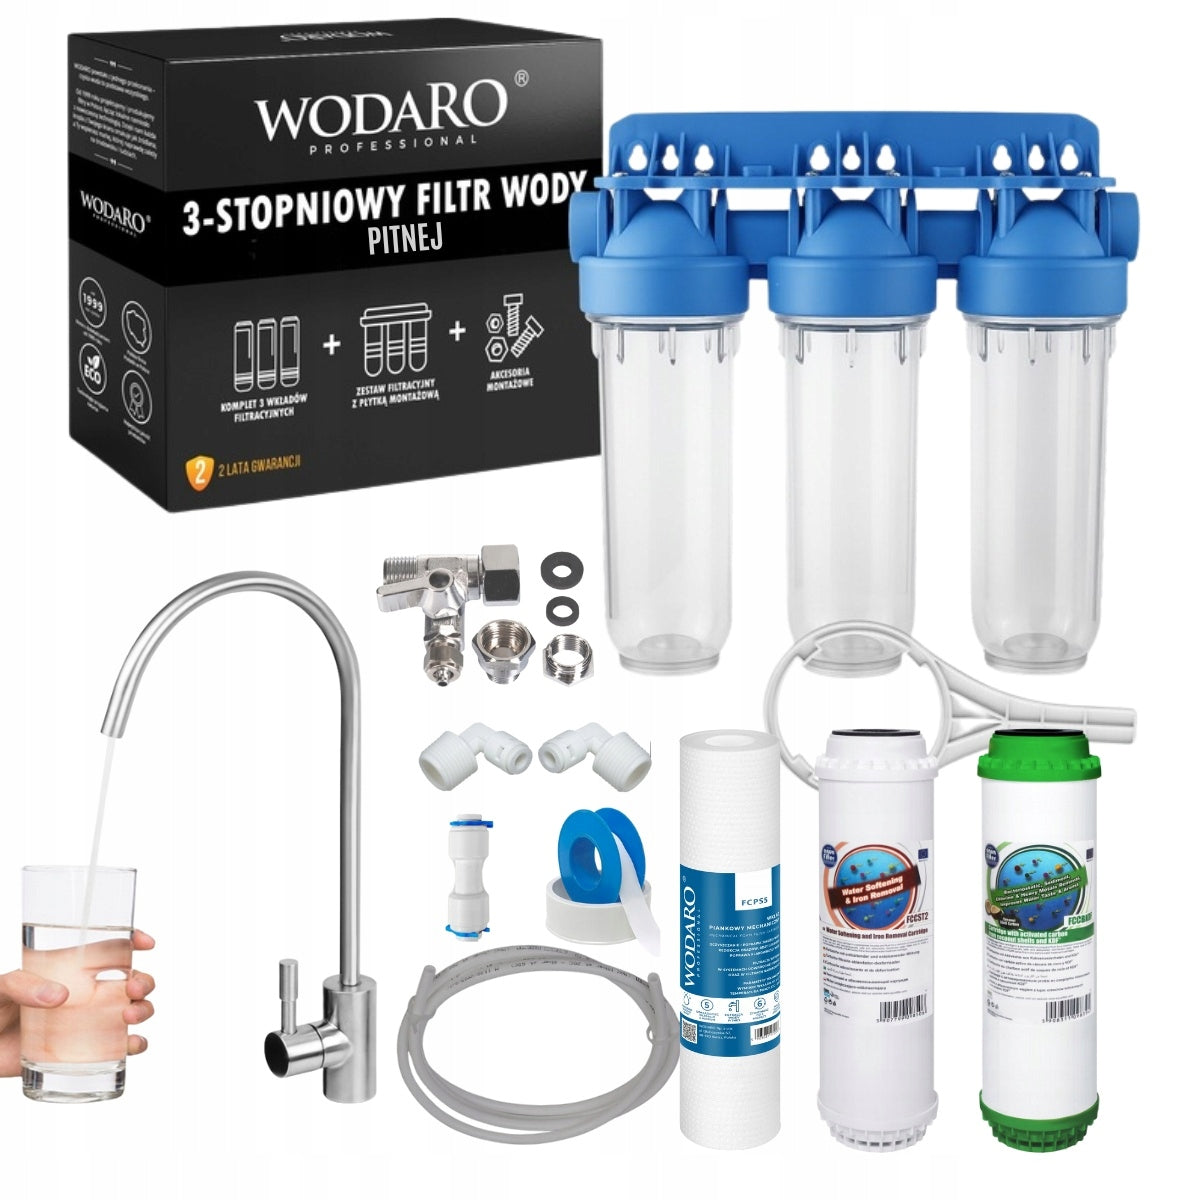
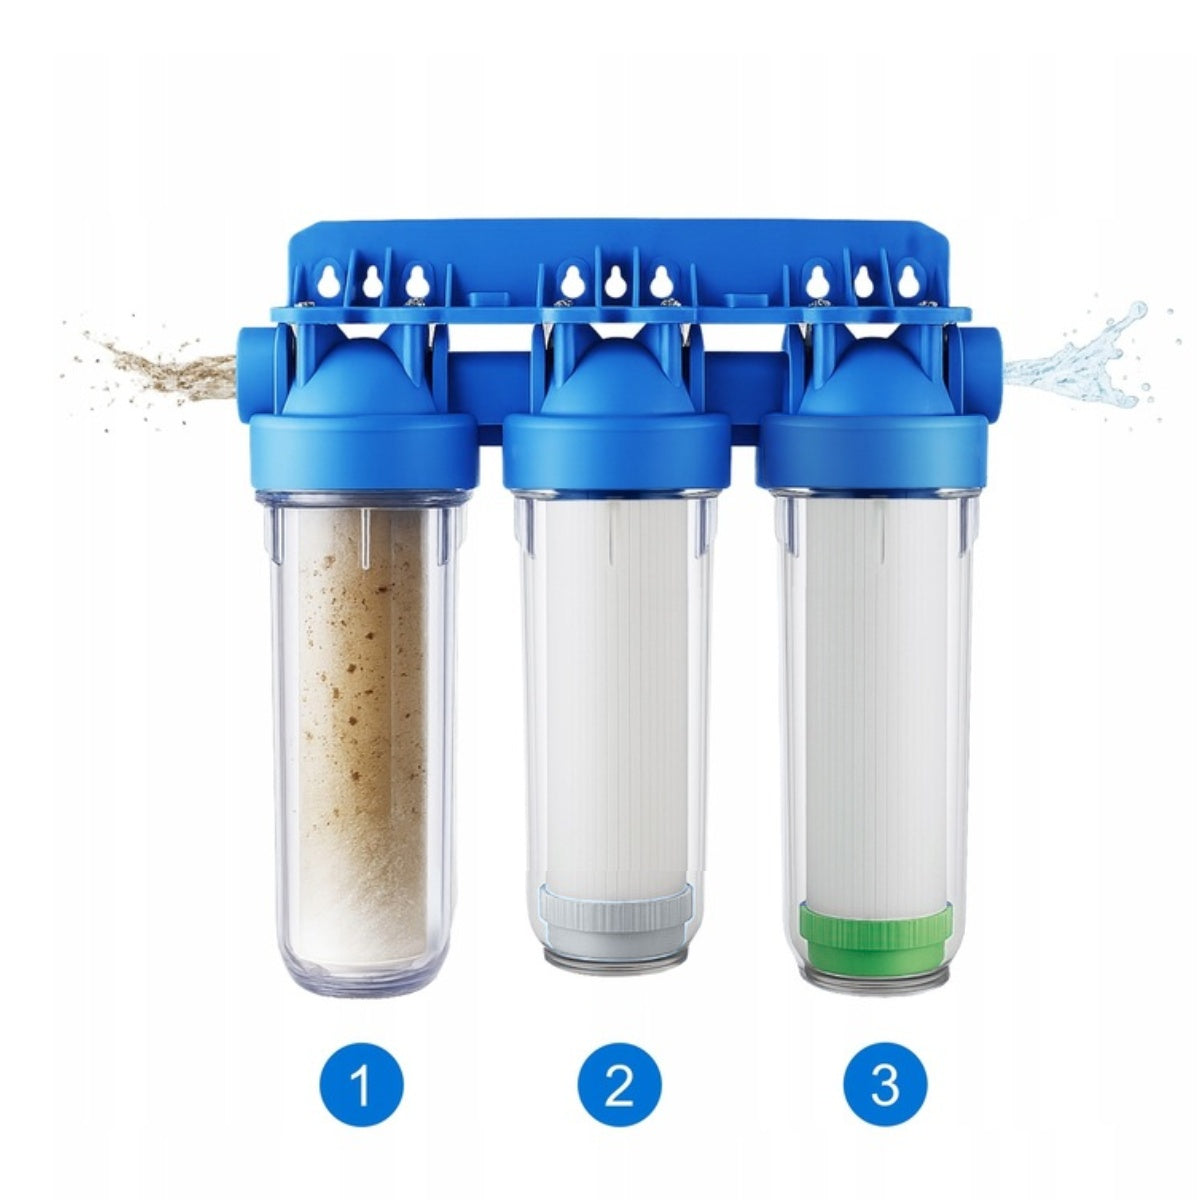
- Triple filter housing - 10" with mounting plate, wrench, screws, 1/2" GW threads
-
3 cartridges 10":
1 degree: FCPS5 WODARO – mechanical, foam 5 µm
2 degree: FCCST2 AQUAFILTER – softening, for stone and iron
3 degree: FCCBKDF AQUAFILTER – carbon block + KDF, for chlorine, heavy metals, taste and smell
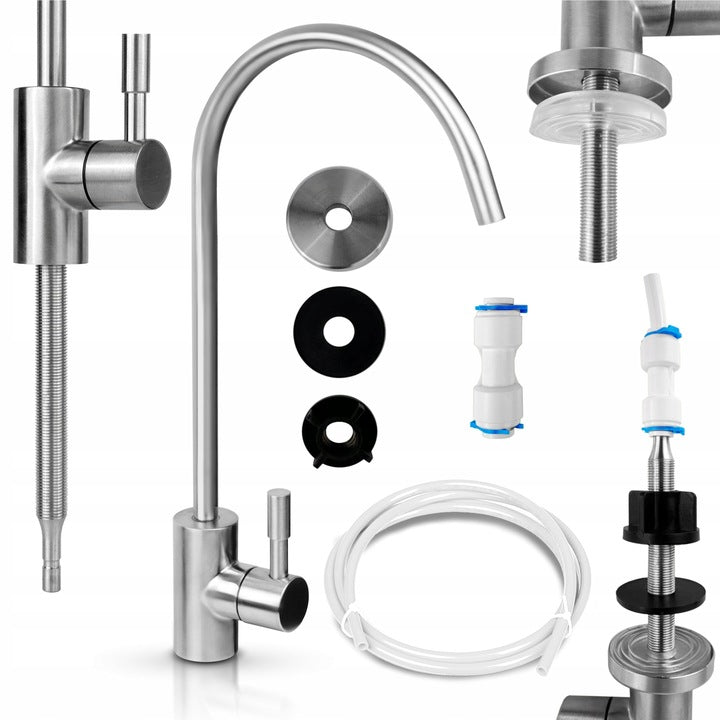
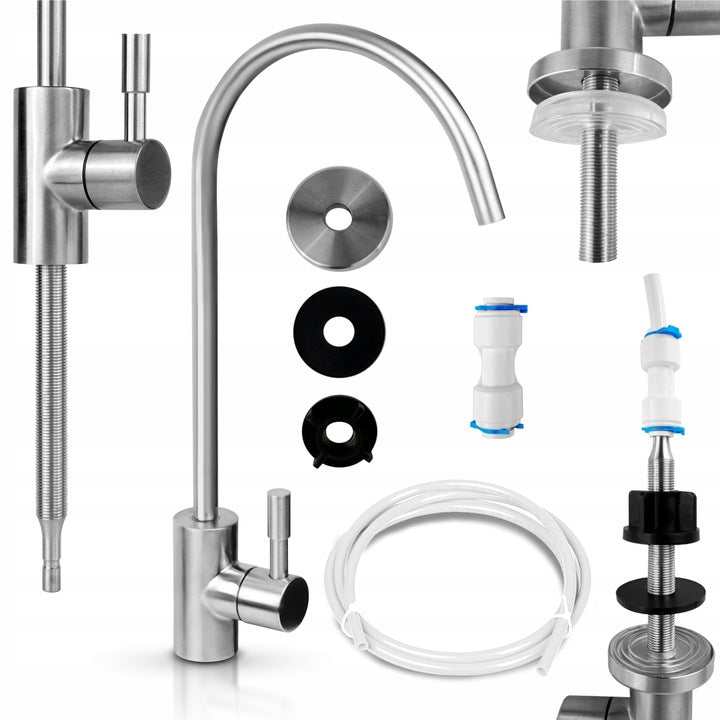
- Filtered water tap - brushed satin + mounting hardware
- Universal sink connection with valve, 3/8" and 1/2" thread
- 2 reducing elbows 1/2" GW x 1/4" quick coupler
- Straight connector 1/4" x 1/4"
- 4 meters hose
- Teflon tape
✅ How does this kit work?
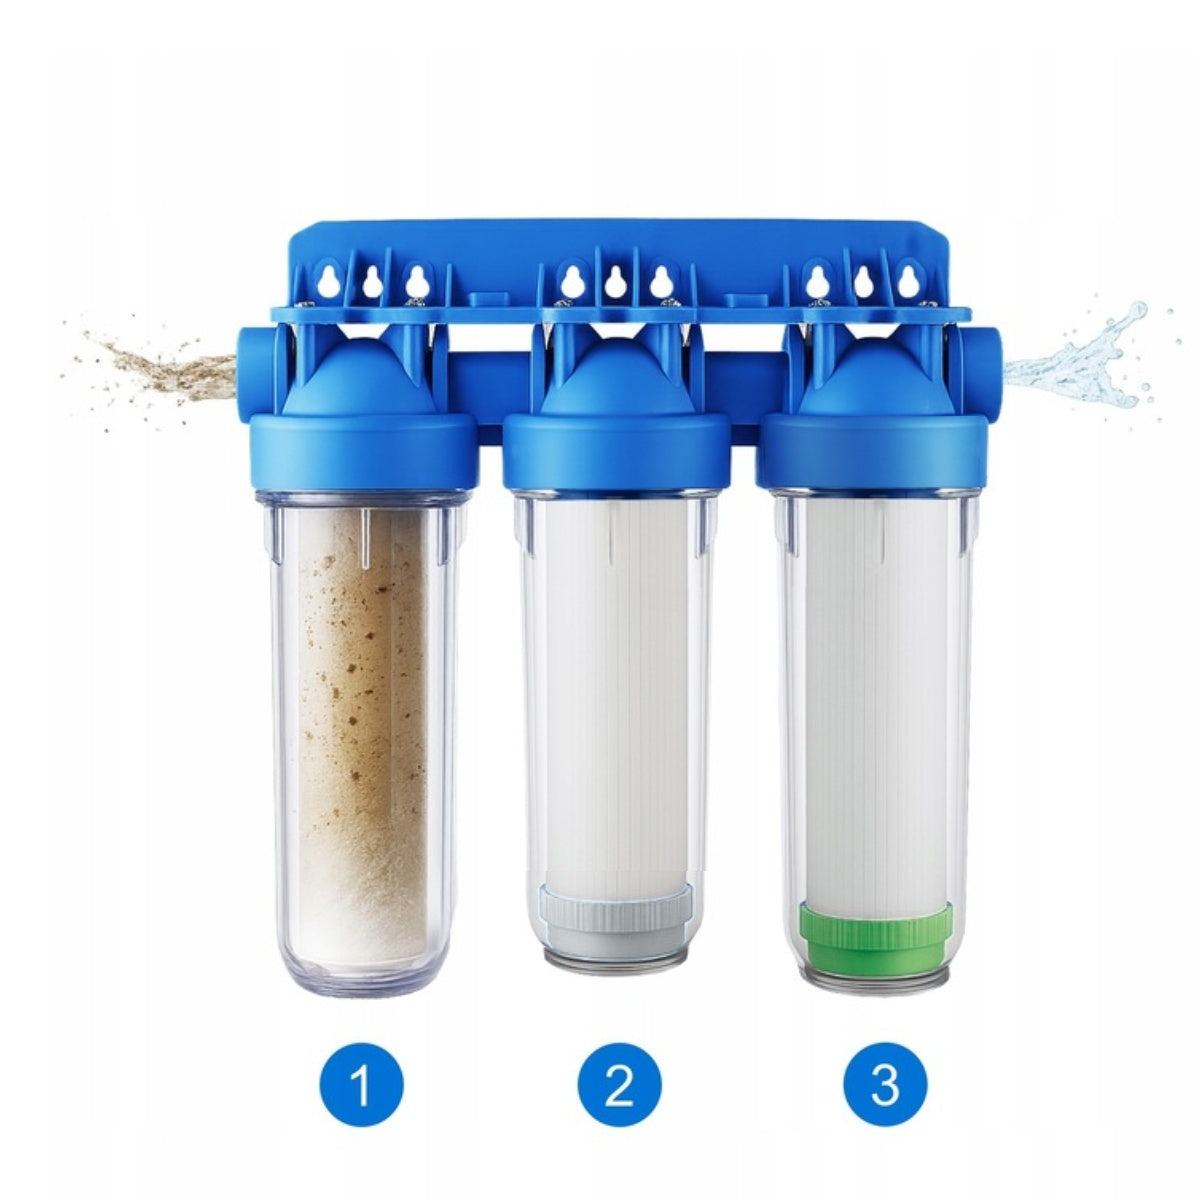
- Cold water from the installation goes under the sink to the first body with FCPS5 cartridge, where mechanical impurities (sand, silt, rust particles) are removed.
- It then flows through the FCCST2 cartridge with ion exchange resin, which reduces water hardness and iron, reducing scale formation and metallic aftertaste.
- In the third degree, water passes through the FCCBKDF cartridge – a carbon block from KDF, which reduces chlorine, pesticides, some heavy metals and improves the taste and smell of water.
- Purified water is fed with a separate hose to the satin tap on the countertop or sink, from which only filtered water for drinking and cooking is taken.
✅ Advantages
- complete set under the sink: housing, cartridges, tap, connection, hose, quick couplers, accessories
- 3/8" or 1/2" universal connection - fits most valves under the sink
- 1/4" quick couplers - installation and removal of the hose per click, without specialized tools
- three stages of filtration typically selected for drinking water
- pronounced improvement in the taste and smell of water, less stone in the kettle and coffee maker
- standard cartridge size 10" - easy purchase of replacement cartridges in the future
- integrated, compact housing - convenient installation in the cabinet under the sink
➡ Modern Satin/Brushed Faucet
- slim, high arch makes it easy to pour into glasses, jugs and bottles
- separate filtered water circuit - does not mix with usable water from the main battery
- brushed satin finish - modern look, less fingerprint visibility
- installation in an existing hole or in a new hole in the sink/top
- click connection to 1/4" hose with quick coupler
➡ High-end filter cartridges
1. FCPS5 WODARO cartridge – mechanical, foam 5 µm
- made of polypropylene foam with graduated density
- Retains sand, silt, rust and other solid particles above 5 µm
- protects subsequent cartridges from quick clogging and extends their service life
recommended replacement: every 3-6 months (depending on water quality)
2. FCCST2 AQUAFILTER cartridge – softening, for stone and iron
- contains a special ion exchange resin designed to reduce water hardness
- reduces the amount of calcium and magnesium responsible for stone formation
- helps reduce iron by reducing metallic aftertaste and brown deposits
- especially recommended for water, which causes rapid limescale build-up in the kettle and coffee maker
recommended replacement: every 3-6 months or earlier with very hard water
3. FCCBKDF AQUAFILTER cartridge – carbon block with KDF
- high-quality carbon block removes chlorine, pesticides and most organic compounds responsible for the taste and smell of water
- KDF deposit supports the reduction of heavy metals (e.g. lead, copper) and residual iron
- acts bacteriostatically within the cartridge, which limits the development of microorganisms on its surface
- provides the final refinement of water quality, making it ideal for drinking, coffee, tea and cooking
recommended replacement: every 3-6 months
❗ The actual working time of the cartridges depends on the water quality and intensity of use.
⚙ Technical data
⚙ connections in heads: 1/2" GW
⚙ connectors included: 2 x 1/2" GW elbow x 1/4" quick coupler, tap quick coupler
⚙ connection under the sink: tee with valve suitable for 3/8" or 1/2" threads + 1/4" output
⚙ cartridge size: standard 10" (2,5" x 10")
⚙ operating temperature range: 1-45 °C (cold usable water)
⚙ working pressure: 1-6 bar
⚙ assembly: on the wall in the cabinet under the sink
⚙ Dimensions of the twisted set:
- width: 36,8cm
- height : 37 cm
- depth : 13 cm
⚙ Weight with packaging: ~ 3,6 kg
➡ FAQ
-
How often do I need to replace cartridges
We recommend replacing every 3-6 months. With very hard or contaminated water, this period may be shortened.
-
Does the filter need electrical power
No, the kit only works on water pressure from the installation.
-
Will the filter lower the pressure throughout the kitchen
No, the filter powers a separate tap for drinking water. The main kitchen faucet is working so far.
-
Can other cartridges be used in the future
Yes, the housing is 10" standard. Most 10" cartridges available can be used to match water parameters.
-
For which water this set is intended
The set is intended for cold tap water, in particular for tap water. In the case of water from own intake, it is recommended to examine the water in advance, and when bacterial contaminants are suspected, additional disinfection (e.g. UV lamp).
➡ Assembly and operation instructions
1. Preparation before assembly
1.1. Checking the contents of the set
Make sure you have:
- triple filter housing with head on common frame
- 3 cartridges: FCPS5, FCCST2, FCCBKDF
- satin tap with mounting elements
- integrated connection (tube with valve) 3/8" / 1/2" with 1/4" hose outlet
- 2 reduction elbows 1/2 GW x 1/4" T
- 1/4" x 1/4" straight quick coupler
- OK. 4 m grey 1/4" hose
- Teflon tape
- mounting plate + screws
- key to bodies
1.2. Needed tools (outside the kit)
- drill + drill (for cabinet wall, possibly for countertop/sink)
- Phillips screwdriver
- adjustable or flat wrench
- pencil/marker
- possibly technical petroleum jelly for O-ring seals
1.3. Soaking cartridges
- Remove the cartridges from the foil.
- Place them in a clean dish with water for approx. 15 to 30 minutes
- After soaking - place the cartridges in the housings in order of power supply - FCPS5 → FCCST2 → FCCBKDF
Soaking removes air bubbles and fine coal dust, so the filter works more efficiently right away.
2. Selection of mounting location
- The filter is mounted in the cabinet under the sink, on a vertical wall.
- Leave at least a few centimeters of clearance under the bodies so that they can be unscrewed freely.
- Plan the course of the hose: from the connection under the sink → filter → tap on the countertop / sink.
Turn off the main cold water valve under the sink and unscrew the faucet for a moment to drain the rest of the pressure.
3. Assembly of mounting plate and filter housing
- Mount the mounting plate to the filter kit
- Choose where to install the filter in the cabinet under the sink by applying the filter while maintaining a few cm. space under it.
4. Integrated connection installation under the sink
- Under the sink, find the cold water valve and the hose that leads to the main kitchen faucet.
- Turn off the valve (if it is not already turned off).
- Unscrew the hose from the valve.
- Screw integrated connection (tube with valve) between valve and hose:
choose the appropriate 3/8" or 1/2" adapter (depending on the installation),
after tightening the connection, screw the battery hose back into the socket in the tee.
- Make sure that the side 1/4" output on the tee is directed towards the filter – there we will connect the 1/4" hose.
❗At this stage, do not unscrew the valve at the integrated connection yet.
Unscrew only the cold water valve to check the tightness of the connection.
5. Preparation of filter input and output ( 1/2" GW x 1/4" T)
- For 1/2" plastic threads in white elbows, wind several turns of Teflon tape
- Screw the elbows into the 1/2" GW body threads with your hand - one at the entrance, the other at the water output.
- Tighten them with a wrench with sensitivity, without using excessive force.
6. Connection of 1/4" hose
- Cut the hose so that:
the first section connects the integrated connection to the filter input (IN),
the second section connects the filter output (OUT) to the tap.
- At the end of the hose, apply the nut from the integrated connection, and slide the hose on the "mushroom" protruding from the connection
- Screw the nut using an adjustable wrench
- Press the other end of this hose section into the 1/4" quick coupler in the elbow on the input (IN) of the filter.
- Connect the second section of the hose with a 1/4" quick coupler in the elbow on the output (OUT) of the filter.
❗ To remove the hose from the quick coupler, pull out the blue ring and press the white ring around towards the fitting - at the same time pull the hose in the opposite direction.
7. Assembly of satin tap
- Select a place for the tap:
free hole in the sink/table top or
drill a new hole fi 11,5 mm / 12 mm
- Apply a rosette with a gasket (transparent or black) to the threaded tap stem
- Place the faucet in the drilled sink/counter hole
- From the bottom, put on the washer and mounting nut, tighten so that the faucet stands stable, but without excessive force.
- At the end of the tap stem, apply a straight quick coupler and connect the hose from the "OUT" output to it (exact diagram shown in the photo below)
8. Assembly of filter cartridges
- Unscrew the bodies sequentially using the wrench from the set.
- Make sure that 2 O-rings (gaskets) are installed in the bodies and are clean. If necessary, gently lubricate them with technical petroleum jelly.
- Insert cartridges in the correct order (looking according to the flow direction from IN to OUT):
to the first body: FCPS5 (mechanical 5 µm),
to the second body: FCCST2 (softening),
to the third body: FCCBKDF (carbon block with KDF).
- Make sure the cartridges stand upright and are well seated.
- Spin the bodies manually, then gently tighten with the key to perceptible resistance.
9. Starting and rinsing the filter
- Check all connections again:
integrated connection,
1/2" x 1/4",
quick couplings on hoses,
filter bodies.
- Open the filtered water tap on the countertop/sink.
- Then slowly open the valve on the integrated connection so that water begins to flow into the filter.
- At first, the water may be cloudy or darker – this is normal (flushing air and coal dust).
- Rinse the filter, letting water through the tap until approx. 10 liters of water (a few minutes of continuous flow).
- After rinsing, close the tap, check carefully if there are any leaks anywhere.
If everything is tight – the filter is ready for everyday use.
10. Exploitation and replacement of cartridges
- Recommended replacement of all cartridges: every 3 to 6 months, depending on water quality and intensity of use.
- Symptoms of impending replacement: noticeably slower flow of water from the tap or deterioration of taste.
- Replacement is carried out in accordance with the steps from point 8 (installation of cartridges) – remembering to turn off the valve on the integrated connection and the cold water valve under the sink earlier.
Regular service and care for tightness of connections will ensure trouble-free operation of the set and constant, high quality of drinking water.
Specifications
| Group | Name | Value |
|---|---|---|
| Parametry | Condition | new |
| Parametry | Invoice | With VAT invoice |
| Parametry | Kind | under-sink |
| Parametry | Brand | Aquafilter |
| Parametry | Dominant color | not applicable |
| Parametry | Model | FP3-K1 |
| Parametry | Product weight with unit packaging | 8 kg |
| Parametry | Manufacturer code | FP3- K1 |
| Parametry | EAN (GTIN) | 5908311099988 |